接口管理——实现CRUD
第一步:打通底层数据通道 (Mapper & Service)
创建 InterfaceInfoMapper.java
1
2
3
4
5
|
public interface InterfaceInfoMapper extends BaseMapper<InterfaceInfo> {
}
|
创建 InterfaceInfoService.java
1
2
3
4
5
6
7
|
public interface InterfaceInfoService extends IService<InterfaceInfo> {
void validInterfaceInfo(InterfaceInfo interfaceInfo, boolean add);
}
|
第二步:定义交互契约 (DTO)
新增和修改的参数是不同的(新增不能传 ID,修改必须传 ID),所以绝对不能混用一个实体类。
新增接口请求体:InterfaceInfoAddRequest.java
1
2
3
4
5
6
7
8
9
10
11
12
13
14
15
16
17
18
19
20
21
22
23
24
25
26
27
28
29
30
31
|
@Data
public class InterfaceInfoAddRequest implements Serializable {
private String name;
private String description;
private String url;
private String method;
private String requestParams;
private String requestHeader;
private String responseHeader;
@Serial
private static final long serialVersionUID = 1L;
}
|
修改接口请求体:InterfaceInfoUpdateRequest.java
1
2
3
4
5
6
7
8
9
10
11
12
13
14
15
16
17
18
19
20
21
22
23
24
25
26
27
28
29
30
31
32
33
34
35
36
37
|
@Data
public class InterfaceInfoUpdateRequest implements Serializable {
private Long id;
private String name;
private String description;
private String url;
private String method;
private String requestParams;
private String requestHeader;
private String responseHeader;
private Integer status;
@Serial
private static final long serialVersionUID = 1L;
}
|
骨架和契约搭好了,下一步就是写Service层,完成刚刚提到的参数校验,然后在Controller层写增删改查的完整HTTP接口
第三步:核心业务逻辑与 Controller
编写 Service 实现类(参数校验层)
不管前端有没有做校验,后端在向数据库执行“新增”或“修改”前,必须进行严格的字段合法性检查(比如接口名字不能太长,URL 不能为空)
1
2
3
4
5
6
7
8
9
10
11
12
13
14
15
16
17
18
19
20
21
22
23
24
25
26
27
28
29
30
31
32
33
34
|
@Service
public class InterfaceInfoServiceImpl extends ServiceImpl<InterfaceInfoMapper, InterfaceInfo> implements InterfaceInfoService {
@Override
public void validInterfaceInfo(InterfaceInfo interfaceInfo, boolean add){
if(interfaceInfo == null){
throw new RuntimeException("接口信息不能为空");
}
String name = interfaceInfo.getName();
String url = interfaceInfo.getUrl();
String method = interfaceInfo.getMethod();
if(add){
if(StringUtils.isAnyBlank(name,url,method)){
throw new RuntimeException("接口名称、URL和请求方法不能为空");
}
}
if(StringUtils.isNotBlank(name) && name.length()>50){
throw new RuntimeException("接口名称过长");
}
}
}
|
编写 Controller:InterfaceInfoController.java
1
2
3
4
5
6
7
8
9
10
11
12
13
14
15
16
17
18
19
20
21
22
23
24
25
26
27
28
29
30
31
32
33
34
35
36
37
38
39
40
41
42
43
44
45
46
47
48
49
50
51
52
53
54
55
56
57
58
59
60
61
62
63
64
65
66
67
68
69
70
71
72
73
74
75
76
77
78
79
80
81
82
83
84
85
86
87
88
89
90
91
|
@RestController
@RequestMapping("/interfaceInfo")
@Tag(name = "接口管理",description = "管理员和用户对API接口的增删改查")
public class InterfaceInfoController {
@Autowired
private InterfaceInfoService interfaceInfoService;
@PostMapping
@Operation(summary = "发布新接口")
public BaseResponse<Long> addInterfaceInfo(@RequestBody InterfaceInfoAddRequest interfaceInfoAddRequest){
if(interfaceInfoAddRequest == null){
return ResultUtils.error(ErrorCode.PARAMS_ERROR);
}
InterfaceInfo interfaceInfo = new InterfaceInfo();
BeanUtils.copyProperties(interfaceInfoAddRequest,interfaceInfo);
interfaceInfoService.validInterfaceInfo(interfaceInfo,true);
interfaceInfo.setUserId(1L);
boolean result = interfaceInfoService.save(interfaceInfo);
if(!result){
return ResultUtils.error(ErrorCode.OPERATION_ERROR,"创建接口失败");
}
return ResultUtils.success(interfaceInfo.getId());
}
@DeleteMapping("/{id}")
@Operation(summary = "删除接口")
@AuthCheck(mustRole = "admin")
public BaseResponse<Boolean> deleteInterfaceInfo(@PathVariable("id") Long id){
if(id == null || id <= 0){
return ResultUtils.error(ErrorCode.PARAMS_ERROR);
}
boolean result = interfaceInfoService.removeById(id);
return ResultUtils.success(result);
}
@PutMapping
@Operation(summary = "更新接口")
@AuthCheck(mustRole = "admin")
public BaseResponse<Boolean> updateInterfaceInfo(@RequestBody InterfaceInfoUpdateRequest interfaceInfoUpdateRequest){
if(interfaceInfoUpdateRequest == null || interfaceInfoUpdateRequest.getId()<=0){
return ResultUtils.error(ErrorCode.PARAMS_ERROR);
}
InterfaceInfo interfaceInfo = new InterfaceInfo();
BeanUtils.copyProperties(interfaceInfoUpdateRequest,interfaceInfo);
interfaceInfoService.validInterfaceInfo(interfaceInfo,false);
boolean result = interfaceInfoService.updateById(interfaceInfo);
return ResultUtils.success(result);
}
@GetMapping("/{id}")
@Operation(summary = "根据ID获取接口详细信息")
public BaseResponse<InterfaceInfo> getInterfaceInfoById(@PathVariable("id") Long id){
if(id <= 0){
return ResultUtils.error(ErrorCode.PARAMS_ERROR);
}
InterfaceInfo interfaceInfo = interfaceInfoService.getById(id);
return ResultUtils.success(interfaceInfo);
}
|
模拟第三方接口提供服务
在引入“签名认证”和“网关”之前,先写几个真实的、毫无防备的“裸体 API”跑通一下,新建另外一个干净的模块:api-platform-interface(模拟第三方接口提供者的服务)。
第一步:配置接口服务的基础环境
这个模块相当于一个独立的小项目,我们需要给它配置 Web 环境和独立的端口号,防止和我们的主后台(8101 端口)冲突。
1. 添加 Web 依赖 (pom.xml) 打开 api-platform-interface 的 pom.xml,确保里面有 Spring Boot Web 依赖:
1
2
3
4
5
6
| <dependencies>
<dependency>
<groupId>org.springframework.boot</groupId>
<artifactId>spring-boot-starter-web</artifactId>
</dependency>
</dependencies>
|
2. 配置文件 (application.yml) 在 src/main/resources 下新建 application.yml:
第二步:编写三个经典的测试接口
这里写三种最常见的传参方式:GET 请求传参、POST 请求 URL 传参、POST 请求 JSON 传参。
1. 准备一个接收 JSON 的实体类 在 apiinterface 包下新建一个 model 包,创建一个极简的 User.java(注意,这不是主后台用来存数据库的那个 User,这只是用来接收 JSON 参数的一个极其简单的对象):
1
2
3
4
| @Data
public class User {
private String username;
}
|
2. 编写 NameController.java 在 apiinterface 包下新建 controller 包,创建这个核心的测试控制器:
1
2
3
4
5
6
7
8
9
10
11
12
13
14
15
16
17
18
19
20
21
22
23
24
25
26
|
@RestController
@RequestMapping("/name")
public class NameController {
@GetMapping("/get")
public String getNameByGet(String name) {
return "GET 你的名字是:" + name;
}
@PostMapping("/post")
public String getNameByPost(@RequestParam String name) {
return "POST 你的名字是:" + name;
}
@PostMapping("/user")
public String getUserNameByPost(@RequestBody User user) {
return "POST JSON 你的名字是:" + user.getUsername();
}
}
|
第三步:启动并测试
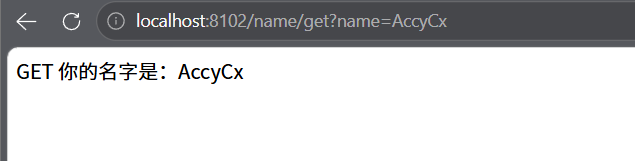
1.测试 GET 接口:
直接在浏览器输入地址:http://localhost:8102/name/get?name=AccyCx
测试结果如图:
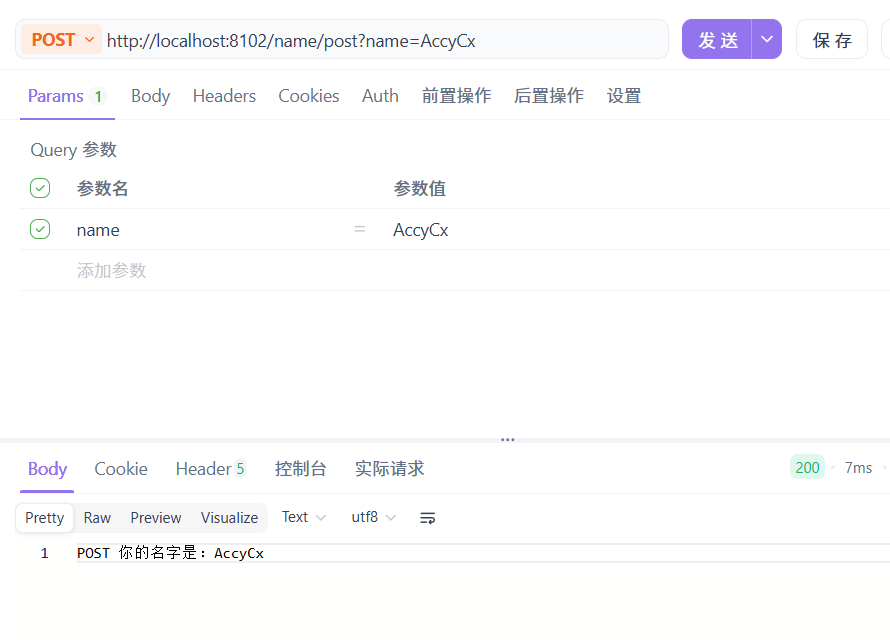
2.测试POST接口(用Apifox):
(1)发送 POST 请求到 http://localhost:8102/name/post?name=AccyCx
测试结果如图:
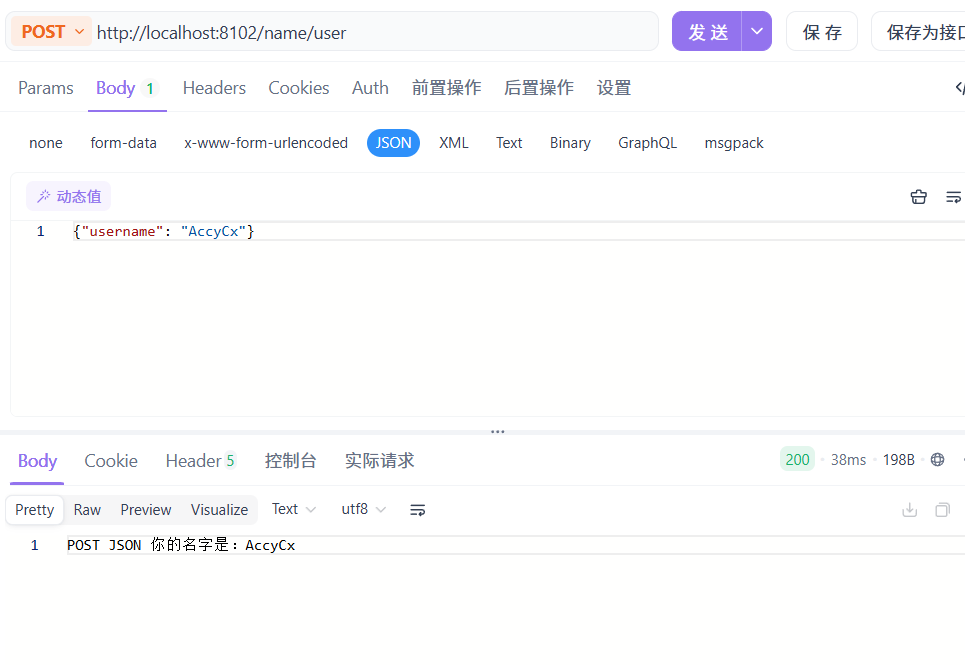
(2)发送 POST 请求到 http://localhost:8102/name/user,并在 Body 中选择 raw -> JSON,输入 {"username": "AccyCx"}。
测试结果如图:
测试成功之后就说明已经顺利跑通了,但是现在这种模拟服务有一个致命漏洞,那就是:我现在只要知道这个 http://localhost:8102/name/user 的地址,任何人、任何黑客都可以无限次地通过 Postman 来调用它!根本不需要经过我主平台的同意,也根本没办法扣除调用次数,所以接下来第三阶段会做:API 签名认证(AK/SK 防护)。
调用者每次发请求,都必须在请求头(Header)里带上根据他的 SecretKey 算出来的一串复杂“签名”。接口这边验证签名通过了,才允许执行并返回结果。

 微信
微信 支付宝
支付宝